Breast enlargement with implants is one of the most refined and sought-after cosmetic procedures, offering women a way to enhance their breast size, improve shape, and restore lost fullness.
Whether you’re considering breast mastopexy with implants, a two stage breast uplift followed by an implants procedure, or simply exploring teardrop breast implants, this article gives you the guide to the main implant types, sizes, and techniques. It is a deep dive, with a nuanced understanding of what you are likely to need to know!
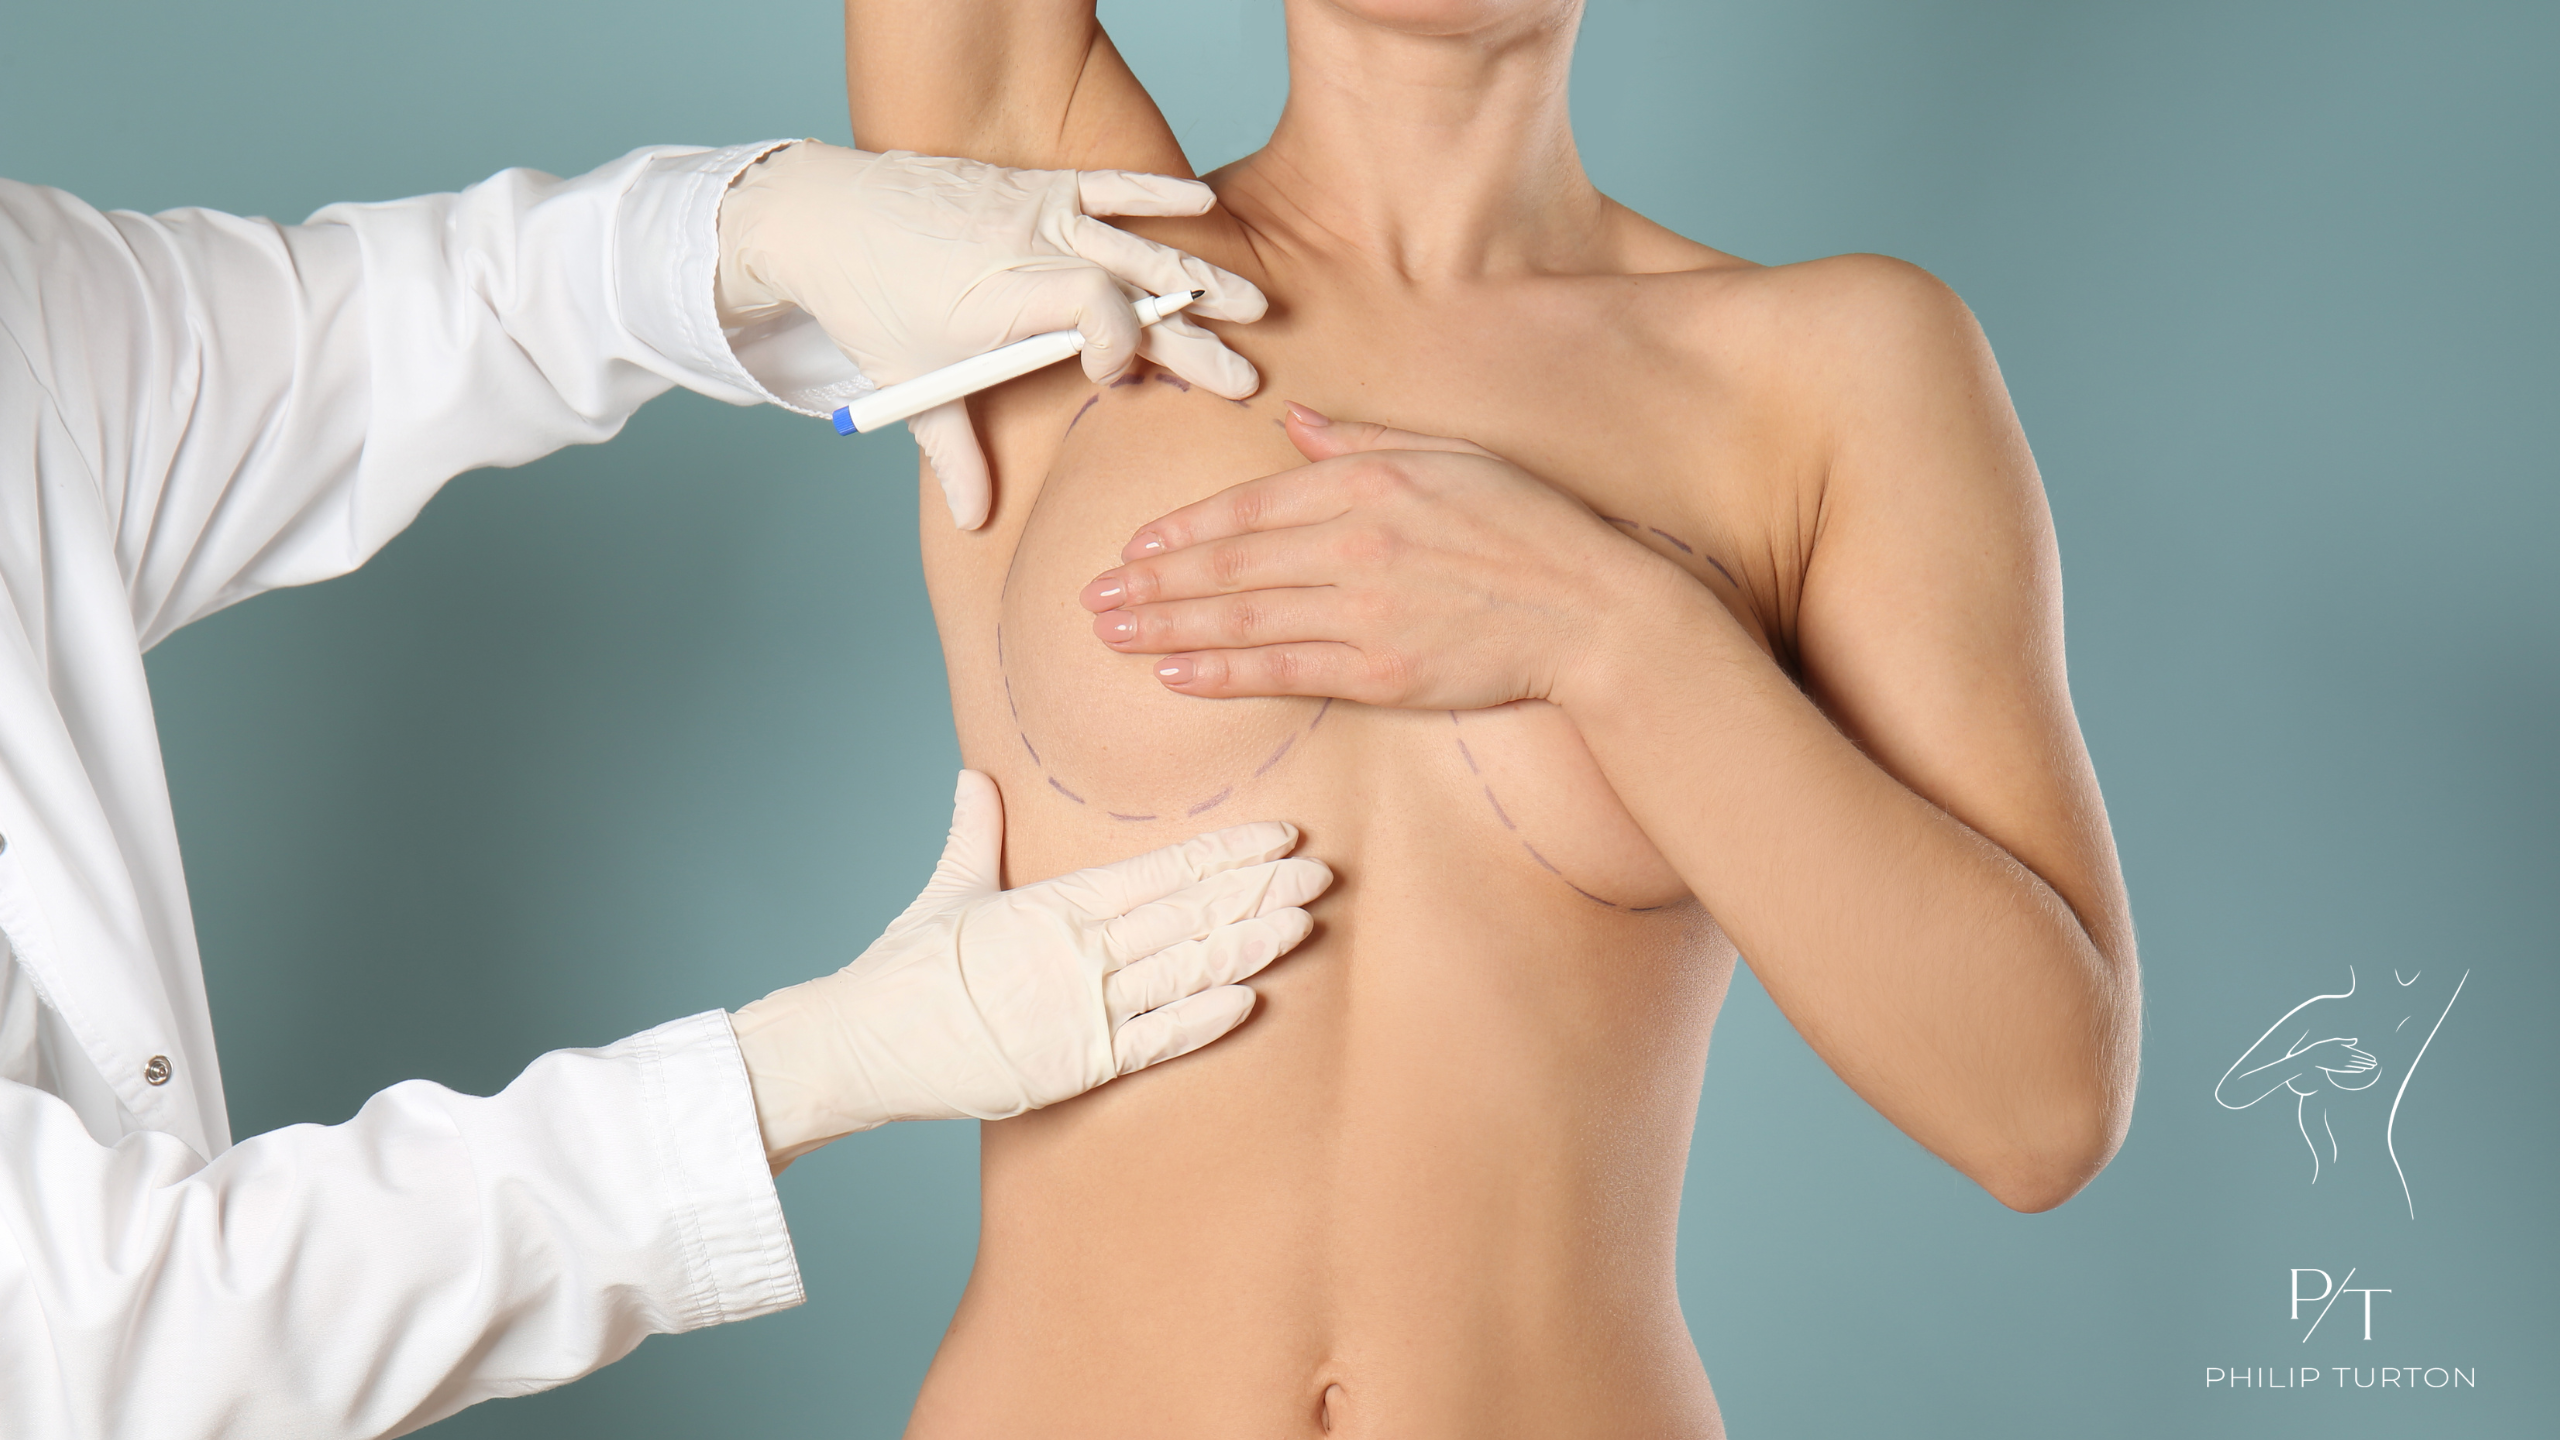
Types of Breast Enlargement Implants
In this section, we explore the major categories of breast implants, including their features, benefits, drawbacks, and when they’re most suitable.
Silicone vs. Saline Breast Implants
Silicone breast implants consist of a silicone shell filled with medical-grade silicone gel, offering a more natural feel and appearance.
Today’s anatomical silicone implants typically use a super cohesive-gel (“gummy bear”) that retains shape even if the shell ruptures (for a while).
But even the round natural shape Mentor implants in the Xtragel range have a very modern high cohesive formula gel that performs superbly.
Saline breast implants are made with a silicone shell filled with sterile salt water after placement. They provide a uniform feel, show deflation visibly if ruptured, and require slightly smaller incisions.
Composite saline implants are part silicone with an adjustable saline reservoir connected to a remote port, and more typically used as part of reconstruction after mastectomy. They aim to help improve surgical safety and adjustment, whilst attempting to mimic natural tissue feel.
Anatomical Implants (Teardrop)
Form-stable (gummy bear) implants are stiffer, denser silicone implants designed to hold their shape exactly, whether you are lying on your back or standing upright; even if the shell breaks, the shape is retained.
They are firmer and require slightly longer incisions. Often called teardrop shaped breast implants, they can create a more natural inclined silhouette (flatter upper breast) but can look awkward if rotated. And rotation risk is something to bear in mind when considering this variety.
Anatomical or contoured implants also avoid additional roundness in the upper breast (a feature that some patients very much desire, or require) , with more fullness at the bottom—so this is the same as the gummy bear—and are chosen for their defined shape.
Surface Textures: Smooth vs. Textured
Smooth implants feel soft and move freely with breast tissue, but may have ripple visibility risks. They should go in a sub-pectoral (“unders”) dual plane position to reduce their increased capsular contraction issue.
If a smooth implant is placed in the sub-glandular position (“overs”), then it is established from many randomised controlled trials that their is greater encapsulation occurrence compared to their textured counterparts.
Textured implants were designed to reduce movement within the pocket, and lower capsular contraction risk in subglandular pockets. Microtectured surfaces a very popular now.
The macro-textured variety encourage tissue adherence to reduce movement and possibly lower capsular contracture rates—but are associated with a somewhat higher lifetime risk of an uncommon implant related cancer: breast implant–associated anaplastic large cell lymphoma (BIA‑ALCL) .
The macrotextured implants are now rarely used, and the Allergan implant that had higher risks was withdrawn from the market.
Implant Sizes, Profiles & Volume
Understanding implant measurements helps align expectations with outcomes.
Volume (cc)
Implant volume is measured in cubic centimeters (cc). Most surgeons in the U.K. place between 250–350 cc, which generally translates to a moderate 2-3 cup size increase, although this is variable patient to patient, and not an exact science.
Profile Options: Low to Ultra‑High
Implants come with profile options indicating projection levels:
- Low profile: flattest contour, ideal for wider chests, or very modest changes.
- Moderate profile: natural look—most common. This includes the Moderate-Plus profiles. These can often look very similar to their anatomical counterparts when chosen by specialist breast surgeons who are expert and experienced dedicated specialists.
- High / Ultra‑high profile: maximum projection, suited to narrow chests, or women wanting a more fake, much more rounded look.
Deciding which to have depends on chest width, aesthetic goals, and desired fullness—especially in the upper pole.
You must share your desired look with your surgeon, and look at their breast enlargement before and after photo gallery to help discussions.
Anatomy-Based Sizing
Biodimensional planning uses chest width, tissue thickness, skin elasticity, and visual tools to determine the ideal implant—guided by specialist consultation, trial sizers, and “wish‑pics” and 3D Crisalix simulation, to avoid miscommunication about what “natural” means.
Implant Placement Techniques
How implants are inserted and positioned significantly impacts outcomes.
Incision Options
There are four primary incision types:
- Inframammary (underfold): precise placement, easy access; visible but fade over time. This is the most popular by far. It gives the greatest control.
- Periareolar (around areola): hides scars to some extent, but may interrupt breast ducts or increase contracture risk. Limits incision size according size of areola.
Learn more about breast implant incisions in this dedicated article for nuanced guidance. - Transaxillary (armpit): scar-free on breast but less visibility control and more risk of asymmetry. Disrupts the lymphatic pathway.
- Transumbilical (TUBA): saline implants only, tunneled from the navel; rare, complex, avoids breast scars. More risk of malposition and infection.
Pocket Positioning: Submuscular vs. Subglandular
- Subglandular (submammary): implant sits behind breast tissue but above muscle. Easier recovery; not suitable if you have too little tissue thickness, when you could see visible rippling and slightly higher contracture risk in thin patients.
- Subpectoral/submuscular (single or dual plane): behind pectoralis muscle—combined coverage, reduced rippling, but possible movement with muscle flexing (“animation”). Harder to perform total capsulectomy in the future if that becomes necessary.
- Subfascial: below muscle fascia, claimed to blend benefits of both, although really adds very little as the fascia is too thin.
Advanced Procedures: Lifts, Revisions & Uplift Combinations
Improvements aren’t limited to implants alone.
Breast Lift with Implants (Mastopexy Augmentation)
When sagging (ptosis) is present, combining a breast uplift implants procedure—mastopexy—with implants could be ideal.
Techniques include periareolar, vertical (“lollipop”), or circumvertical and wise pattern lifts.
But combining increases risk of wound issues, implant exposure, or nipple sensation changes. Even nipple necrosis risk must be considered.
Combining can also limit the extent of the mastopexy, compromising on an approach that might be fundamental to future aesthetic outcome.
Implant Revisions & Rupture Rate or Burst Lifespan
Some patients opt for a breast augmentation revision—changing size, implant position, or addressing complications.
Data show roughly 20% of cosmetic augmentation and 50% in reconstruction may require revision explantation by 10 years.
“How Long Can Breast Implants Last?”
Though not lifetime devices, modern silicone can often last well over a decade. Monitoring is advised: silicone implants should undergo imaging (MRI/ultrasound) at 5 years and every 2–3 years thereafter according to the FDA guidance Without this, you may risk complications developing from a rupture without realising it early enough to stop permanent silicone migration to other sites in your body.
Choosing the Right Implant: Decision-Making Workflow
Navigating choices can be daunting—here’s a structured approach.
Consultation & Planning
A thorough consultation should include:
- Discussion of lifestyle, anatomy, goals, and expectations
- Review of breast implants or the catalogues to visualize shape and profile
- 3D digital imaging (digital sizers) and “wish‑pics” to align with your vision
- Explanation of risks—capsular contracture, rippling, BIA‑ALCL, age-related changes, sensation changes, and surgical complications
Risks, Safety Checks & Recovery
Every surgical decision carries trade-offs—awareness is key.
General and Implant-Specific Risks
Common surgical risks: bleeding (also called haematoma), infection, anesthesia issues, or wound healing problems, like infection.
Implant-specific: capsular contracture, rupture, implant displacement, wrinkling, breast sensation changes, and rare but serious implant cancers and BIA‑ALCL with textured implants.
Monitoring & Emergency Signs
Post-op consultations with a specialist and guideline-based imaging is essential for silicone implants. Watch for swelling, pain, asymmetry, a lump, redness, fever, or discharge to address issues in a timely manner.
Healing Timeline
- Immediate visible result; initial swelling and bruising fade in days to weeks
- Supportive garments required initially
- Avoid strenuous activity for 4–6 weeks
- Scars mature and soften over 6–12 months—see detailed insights on breast augmentation scars in this linked article
Learn more about this procedure and contact Mr. Turton
Breast enlargement cosmetic implants encompass more than size; it’s a nuanced combination of implant type, volume, shape, surface, placement, and technique.
Adding fat grafting when appropriate, selecting the right incision, and planning for future revisions or lifts ensures more long-term satisfaction.
Choose a skilled, board-certified specialist surgeon, rely on biodimensional planning with visual aids, and maintain implant monitoring.
Ultimately, a well-informed decision maximizes aesthetic results, minimizes risks, and supports confidence in your long-term physical and emotional well-being.